Russ, post the steps you used in CS3 or 4. I know in CS3 I had to make a few changes and I was going to post those later in the Photoshop area, but like the image. Dane
--------
Dane: I have an iMac machine with CS3. In case there's anyone who doesn't know, CS3 is an older version of Photoshop.
I am using Elements 6 on this, but the same hold true with 5 too.
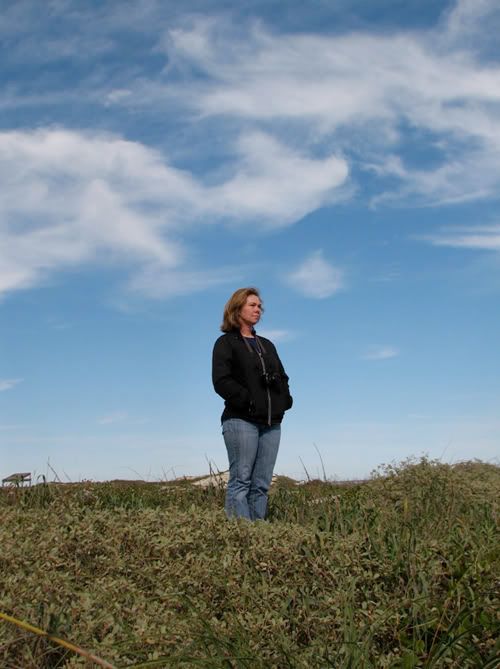
1. open your image .............. same with CS3
2. duplicate (ctrl j) ............... Command J on a Mac
3. do your normal processing (levels, hue/sat., etc.)
4. duplicate the layer again (ctrl j) ............... Command J on a Mac
5. turn to black and white go to: Enhance -> Convert to Black and White .................. Image - Adjust - B&W
Select a Style (bottom left corner). Select either the Scenic Landscape or Vivid Landscape (whichever will produce a lighter black and white). In this case I went with the Vivid. And click ok ................ Can't do this with CS3, at least I couldn't find a way.
6. Blend Mode: Pick either Overlay or Soft Light (try any of the other if you like…) ................. Same with CS3 and Mac
Click on the bottom layer (Background) and turn it off (click on the eye). Click back on the top layer .................. Same with CS3 and Mac
7. PRESS the following keys at once. CTRL, ALT, SHIFT and E, this will combine the bottom two layers into one. Call this layer Curves ................ On a Mac with CS3: highlight the layers you want to combine and then do a Command E
8. Go to Enhance -> Adjust Color -> Adjust Color Curves ................ Image - Adjust - Curves
Move the Adjust sliders to get a gentle S like shape, Adjust as needed ................. Same with CS3 and Mac
9. CTRL J to duplicate the 'Curves' layer and call this layer Shadows/Highlights ................... Command J instead of CTRL J
10.Enhance -> Adjust Lighting -> Shadows/Highlights ................... Image - Adjust - Shadows/Highlights
Move sliders for your taste ................... Same with CS3 and Mac
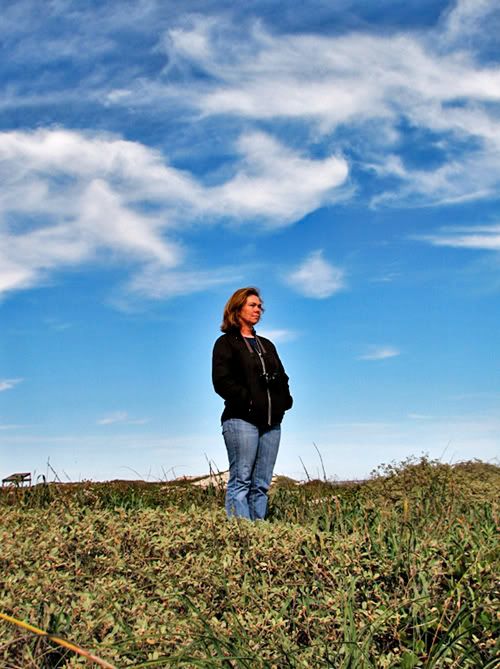
And there you have it.
Optional: Replace Step 8 with Michael's writeup on "Simulating curves with a gradient map" will give you better control. Just my opinion. If you use this option, PRESS the following keys at once. CTRL, ALT, SHIFT and E, this will combine the bottom two layers into one and then go to step 9 ................... I did not try this with CS3
Duplicate the last layer again and repeat Steps 8 thru 10 and see what happens.
Go to Enhance -> Unshark Mask ................ Filter - Sharpen - Unsharp Mask (I almost always use these settings with the unsharp mask: Amount - 20; Radius - 60; Threshold - 0)